哈Ha!这次,我尝试通过Websockets进行简单的聊天。欲了解更多信息,欢迎来到猫下。
内容
- 学习Scala:第1部分-蛇游戏
- 学习Scala:第2部分-带有图片上传功能的待办事项表
- 学习Scala:第3部分-单元测试
- 学习Scala:第4部分-WebSocket
链接
实际上所有代码都在一个ChatHub对象中
class ChatHub[F[_]] private(
                             val topic: Topic[F, WebSocketFrame],
                             private val ref: Ref[F, Int]
                           )
                           (
                             implicit concurrent: Concurrent[F],
                             timer: Timer[F]
                           ) extends Http4sDsl[F] {

  val endpointWs: ServerEndpoint[String, Unit, String, Stream[IO, WebSocketFrame], IO] = endpoint
    .get
    .in("chat")
    .tag("WebSockets")
    .summary("   .    : ws://localhost:8080/chat")
    .description("   ")
    .in(
      stringBody
        .description("      ")
        .example("!")
    )
    .out(
      stringBody
        .description("  -   ")
        .example("6 :     Id  f518a53d: !")
    )
    //    .
    .serverLogic(_ => IO(Left(()): Either[Unit, String]))

  def routeWs: HttpRoutes[F] = {
    HttpRoutes.of[F] {
      case GET -> Root / "chat" => logic()
    }
  }

  private def logic(): F[Response[F]] = {
    val toClient: Stream[F, WebSocketFrame] =
      topic.subscribe(1000)
    val fromClient: Pipe[F, WebSocketFrame, Unit] =
      handle
    WebSocketBuilder[F].build(toClient, fromClient)
  }

  private def handle(s: Stream[F, WebSocketFrame]): Stream[F, Unit] = s
    .collect({
      case WebSocketFrame.Text(text, _) => text
    })
    .evalMap(text => ref.modify(count => (count + 1, WebSocketFrame.Text(s"${count + 1} : $text"))))
    .through(topic.publish)
}

object ChatHub {

  def apply[F[_]]()(implicit concurrent: Concurrent[F], timer: Timer[F]): F[ChatHub[F]] = for {
    ref <- Ref.of[F, Int](0)
    topic <- Topic[F, WebSocketFrame](WebSocketFrame.Text("==="))
  } yield new ChatHub(topic, ref)
}
在这里,您必须立即谈到Topic-Fs2中的同步原语,它使您可以创建Publisher-订户模型,并且您可以同时拥有多个发布者和多个订户。通常,最好通过某种类型的缓冲区(例如Queue)向其发送消息,因为它对队列中的消息数有限制,并且Publisher会等到所有订阅服务器在其消息队列中接收到消息为止,如果溢出,则可能会挂起。
val topic: Topic[F, WebSocketFrame],
在这里,我还将发送到聊天的消息数作为每条消息的数目。由于需要从不同的线程执行此操作,因此我使用了Atomic的类似物,在此称为Ref,并保证了操作的原子性。
private val ref: Ref[F, Int]
处理来自用户的消息流。
  private def handle(stream: Stream[F, WebSocketFrame]): Stream[F, Unit] =
    stream
//       .
    .collect({
      case WebSocketFrame.Text(text, _) => text
    })
//               .
    .evalMap(text => ref.modify(count => (count + 1, WebSocketFrame.Text(s"${count + 1} : $text"))))
//
    .through(topic.publish)
实际上是创建套接字的逻辑。
private def logic(): F[Response[F]] = {
//    .
    val toClient: Stream[F, WebSocketFrame] =
//
      topic.subscribe(1000)
//
    val fromClient: Pipe[F, WebSocketFrame, Unit] =
//
      handle
//         .
    WebSocketBuilder[F].build(toClient, fromClient)
  }
我们将套接字绑定到服务器上的路由(ws:// localhost:8080 / chat)
def routeWs: HttpRoutes[F] = {
    HttpRoutes.of[F] {
      case GET -> Root / "chat" => logic()
    }
  }
实际上,仅此而已。然后,您可以使用此路由启动服务器。我仍然想制作任何类型的文档。通常,要记录WebSocket和其他基于事件的交互(如RabbitMQ AMPQ),需要使用AsynAPI,但Tapir下没有任何内容,因此我仅将Swagger的端点描述为GET请求。当然,他不会工作。更准确地说,将返回501错误,但将以Swagger显示
  val endpointWs: Endpoint[String, Unit, String, fs2.Stream[F, Byte]] = endpoint
    .get
    .in("chat")
    .tag("WebSockets")
    .summary("   .    : ws://localhost:8080/chat")
    .description("   ")
    .in(
      stringBody
        .description("      ")
        .example("!")
    )
    .out(
      stringBody
        .description("  -   ")
        .example("6 :     Id  f518a53d: !")
    )
大张旗鼓地看起来像这样。将

我们的聊天连接到我们的API服务器
    todosController = new TodosController()
    imagesController = new ImagesController()
//
    chatHub <- Resource.liftF(ChatHub[IO]())
    endpoints = todosController.endpoints ::: imagesController.endpoints
//     Swagger
    docs = (chatHub.endpointWs :: endpoints).toOpenAPI("The Scala Todo List", "0.0.1")
    yml: String = docs.toYaml
//
    routes = chatHub.routeWs <+>
      endpoints.toRoutes <+>
      new SwaggerHttp4s(yml, "swagger").routes[IO]
    httpApp = Router(
      "/" -> routes
    ).orNotFound
    blazeServer <- BlazeServerBuilder[IO](serverEc)
      .bindHttp(settings.host.port, settings.host.host)
      .withHttpApp(httpApp)
      .resource
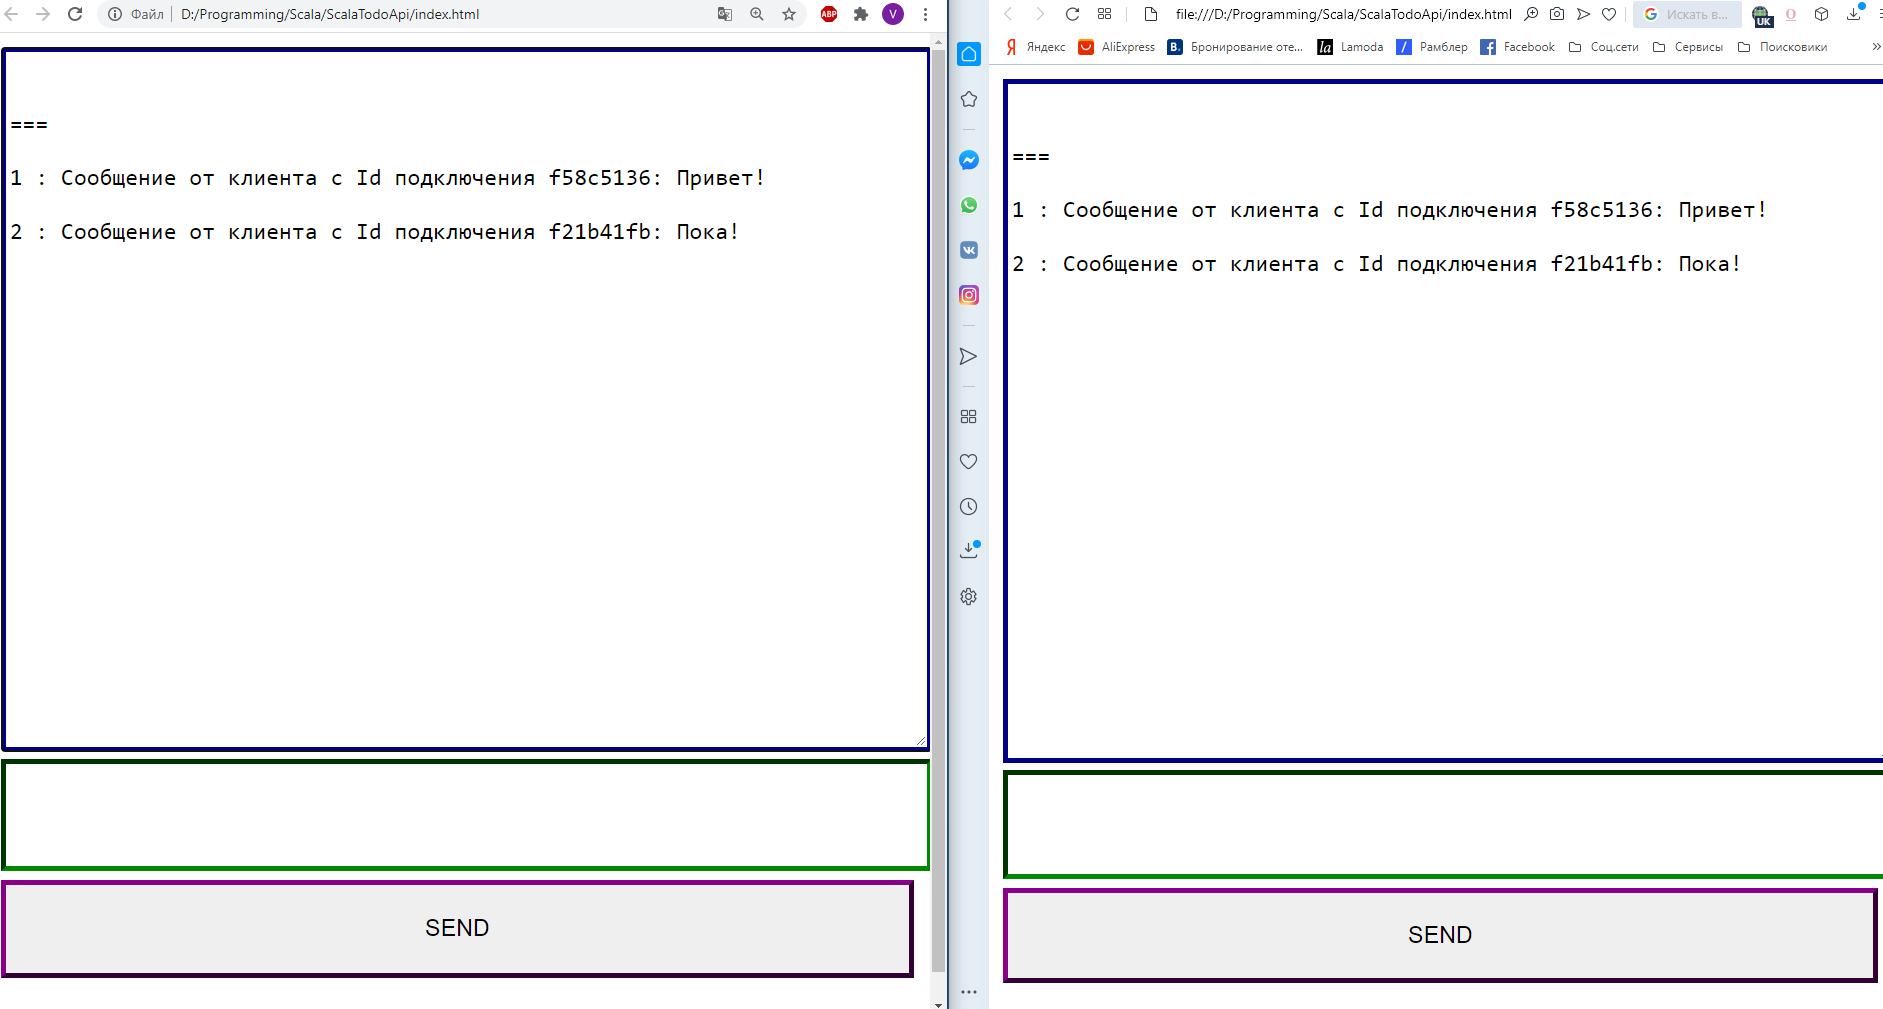
我们使用非常简单的脚本连接到聊天室。
    <script>
        const id = `f${(~~(Math.random() * 1e8)).toString(16)}`;
        const webSocket = new WebSocket('ws://localhost:8080/chat');

        webSocket.onopen = event => {
            alert('onopen ');
        };

        webSocket.onmessage = event => {
            console.log(event);
            receive(event.data);
        };

        webSocket.onclose = event => {
            alert('onclose ');
        };

        function send() {
            let text = document.getElementById("message");
            webSocket.send(`    Id  ${id}: ${text.value}`);
            text.value = '';
        }

        function receive(m) {
            let text = document.getElementById("chat");
            text.value = text.value + '\n\r' + m;
        }
    </script>
这实际上就是全部。我希望也研究岩石的人会发现这篇文章有趣,甚至有用。