本文将介绍创建用于面部识别的神经网络的经验,该网络用于对VK对话中的所有照片进行排序以找到特定的人。没有编写神经网络的经验,并且对Python的了解很少。
介绍
我们有一个朋友,名字叫谢尔盖(Sergei),他喜欢用一种不寻常的方式给自己拍照并进行对话,并且还用公司的短语添加这些照片。因此,在不和谐事件的一个晚上,我们有了一个主意-在VK中创建一个公众,我们可以在这里发布Sergey及其报价。延期的前10个帖子很简单,但随后很明显,用手交谈不需讨论所有附件。因此,决定编写一个神经网络来自动化该过程。
计划
- 获取对话中照片的链接
- 下载照片
- 编写神经网络
开始开发之前
, Python pip. , 0, ,
1.获取照片链接
因此,我们希望从对话中获取所有照片,messages.getHistoryAttachments方法适合我们,它返回对话或对话的材料。
自2019年2月15日起,Vkontakte拒绝访问未通过审核的应用程序的消息。作为解决方法,我建议使用vkhost,它可以帮助您从第三方Messenger中获取令牌。
使用vkhost上收到的令牌,我们可以使用Postman收集所需的API请求。当然,您可以不用它就用笔填充所有内容,但为清楚起见,我们将使用它。填写
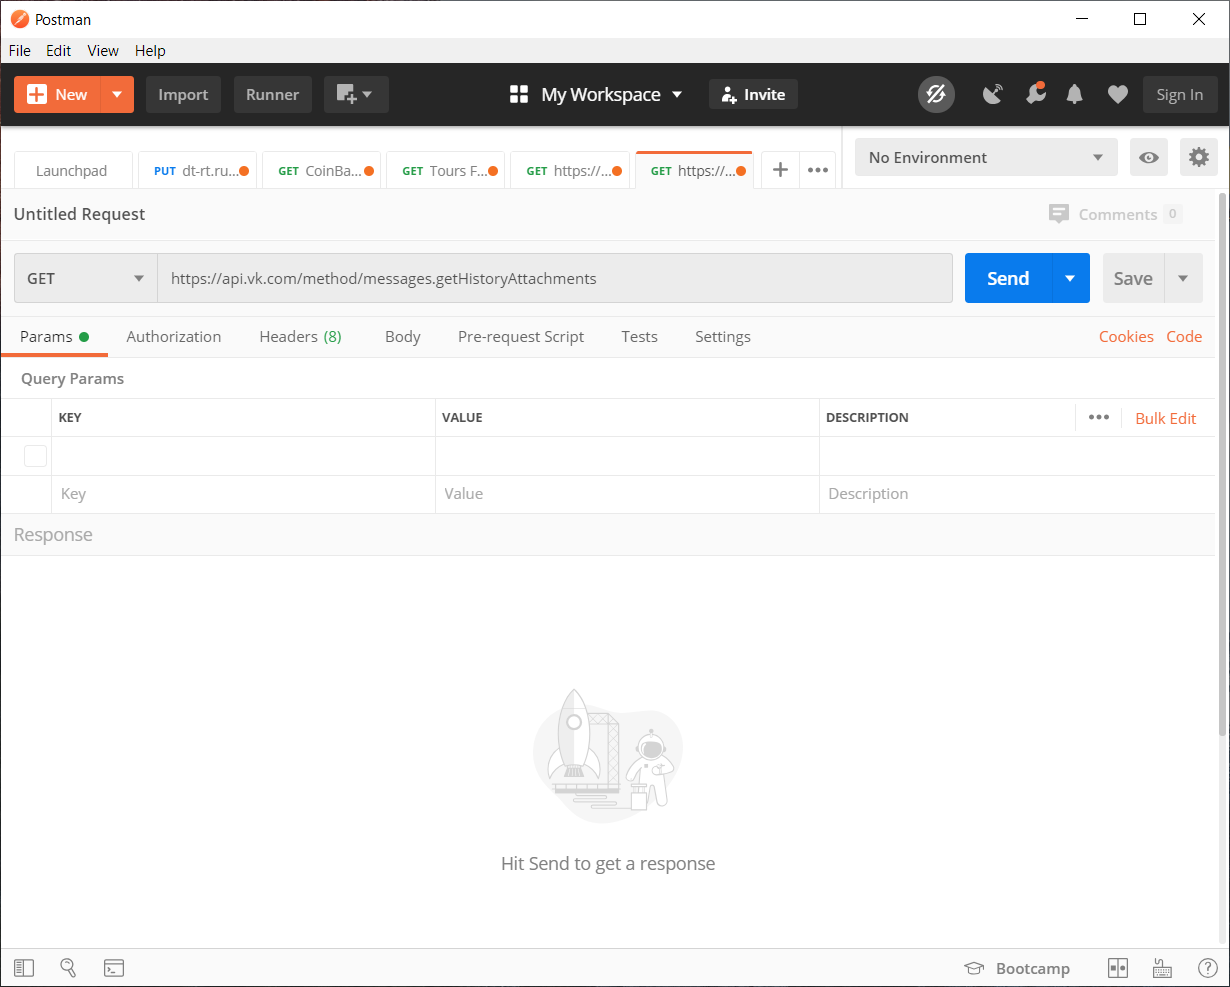
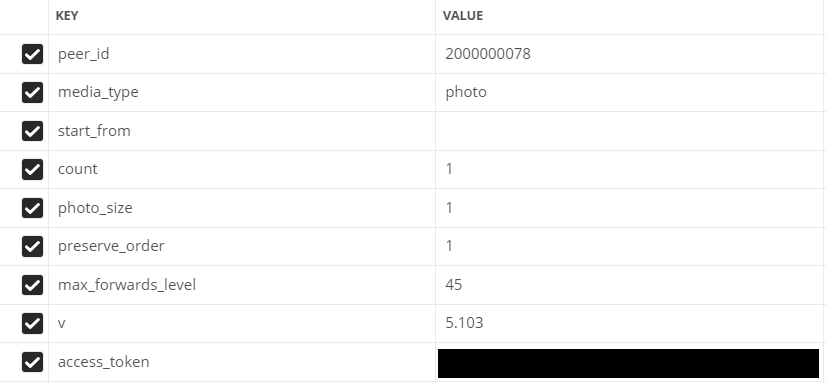
参数:
- peer_id-目标标识符
对于对话:2,000,000,000 +对话ID(可以在地址栏中看到)。
对于用户:用户ID。 - media_type-媒体类型
在我们的情况下,照片
- start_from-选择多个项目的偏移量。
让我们暂时将其留空。
- count-接收到的对象数
最多200,这就是我们将使用的数量
- photo_sizes-标记以返回数组中的所有大小
1或0。我们使用1
- reserve_order-指示是否应按原始顺序返回附件的标志
1或0。我们使用1
- v-vk API版本
1或0。我们使用1
邮递员中的填写字段
转到编写代码
为了方便起见,所有代码都将分成几个单独的脚本。
如果对话/对话中的照片少于200张, 将使用json模块(用于解码数据)和请求库(用于发出http请求)
代码清单
import json
import requests

val = 1 #

Fin = open("input.txt","a") #
#  GET   API     response
response = requests.get("https://api.vk.com/method/messages.getHistoryAttachments?peer_id=2000000078&media_type=photo&start_from=&count=10&photo_size=1&preserve_order=1&max_forwards_level=45&v=5.103&access_token=_")
items = json.loads(response.text) #       JSON

#    GET            ,

for item in items['response']['items']: #   items
    link = item['attachment']['photo']['sizes'][-1]['url'] #    ,
    print(val,':',link) #
    Fin.write(str(link)+"\n") #
    val += 1 #
如果有200张以上的照片
import json
import requests

next = None #
def newfunc():
    val = 1 #
    global next
    Fin = open("input.txt","a") #
    #  GET   API     response
    response = requests.get(f"https://api.vk.com/method/messages.getHistoryAttachments?peer_id=2000000078&media_type=photo&start_from={next}&count=200&photo_size=1&preserve_order=1&max_forwards_level=44&v=5.103&access_token=_")
    items = json.loads(response.text) #       JSON

    if items['response']['items'] != []: #
        for item in items['response']['items']: #   items
            link = item['attachment']['photo']['sizes'][-1]['url'] #    ,
            print(val,':',link) #
            val += 1 #
            Fin.write(str(link)+"\n") #
        next = items['response']['next_from'] #
        print('dd',items['response']['next_from'])
        newfunc() #
    else: #
        print("  ")

newfunc()
是时候下载链接了
2.下载图像
要下载照片,我们使用urllib库
import urllib.request

f = open('input.txt') #

val = 1 #
for line in f: #
    line = line.rstrip('\n')
    #     "img"
    urllib.request.urlretrieve(line, f"img/{val}.jpg")
    print(val,':','') #
    val += 1 #
print("")
下载所有图像的过程并不是最快的,特别是如果照片是8330。这种情况下也需要空间,如果照片的数量与我的相同或更多,我建议为此释放1.5-2 GB的

工作。有趣-编写神经网络
3.编写神经网络
在浏览了许多不同的库和选项之后,决定使用人脸识别库
它能做什么?
从文档中考虑
照片中搜索人脸的最基本特征
可能会在照片中找到任意数量的人,即使是

对单张照片进行模糊识别
也可以

为我们识别照片中人的身份,最合适的方法就是识别人
训练
在库的要求中,需要使用Python 3.3+或Python 2.7,
对于库,上述人脸识别和PIL将用于处理图像。
Windows上不正式支持人脸识别库,但对我有用。一切均可在macOS和Linux上稳定运行。
发生了什么的解释
首先,我们需要设置一个分类器以搜索某个人,通过该人可以对照片进行进一步的验证。
我建议您在正面视图中选择尽可能清晰的人物照片。上传照片时,图库会将图像分解为一个人的面部特征(鼻子,眼睛,嘴巴和下巴的坐标)

。那么事情就很小了,剩下的就是对我们想要与分类器进行比较的照片应用类似的方法。然后我们让神经网络通过坐标比较面部特征。
好吧,实际的代码本身:
import face_recognition
from PIL import Image #

find_face = face_recognition.load_image_file("face/sergey.jpg") #
face_encoding = face_recognition.face_encodings(find_face)[0] #    ,

i = 0 #
done = 0 #
numFiles = 8330 #   -
while i != numFiles:
    i += 1 #
    unknown_picture = face_recognition.load_image_file(f"img/{i}.jpg") #
    unknown_face_encoding = face_recognition.face_encodings(unknown_picture) #

    pil_image = Image.fromarray(unknown_picture) #

    #
    if len(unknown_face_encoding) > 0: #
        encoding = unknown_face_encoding[0] #   0 ,
        results = face_recognition.compare_faces([face_encoding], encoding) #

        if results[0] == True: #
            done += 1 #
            print(i,"-","   !")
            pil_image.save(f"done/{int(done)}.jpg") #
        else: #
            print(i,"-","   !")
    else: #
        print(i,"-","  !")
也可以通过对视频卡进行深入分析来运行所有内容,为此,您需要添加model =“ cnn”参数并更改我们要搜索合适人物的图像的代码片段:
    unknown_picture = face_recognition.load_image_file(f"img/{i}.jpg") #
    face_locations = face_recognition.face_locations(unknown_picture, model= "cnn") #   GPU
    unknown_face_encoding = face_recognition.face_encodings(unknown_picture) #
结果
没有GPU。到时候,神经网络又通过和整理8330倍的照片在1小时40分钟,并在同一时间发现了142张照片,62人有期望的人的形象。当然,对模因和其他人也存在误报。
C GPU。处理时间花费了更多的时间(17小时22分钟),我发现230张照片,其中99张是我们需要的人。
总而言之,我们可以说这项工作没有白费。我们已对8330张照片进行了自动排序,这比
您自己对它进行排序要好得多。您还可以从github下载整个源代码