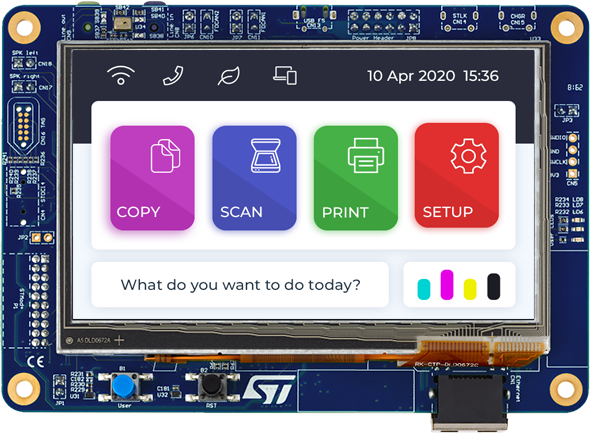
该库支持大量的微控制器,例如STM32,ESP32等。到目前为止,我已经设法在ESP32和STM32f429 Discovery上运行了完整的演示程序。该库是开放源代码,支持大量具有深色和浅色主题的图形元素。根据MIT许可证分发。甚至可以在商业产品中自由使用。您可以观看互动式在线演示,而无需在设备上进行安装
该库支持连接两种显示类型
- 直接通过RGB接口,其中缓冲区将位于内部RAM或外部SDRAM中的MCU侧
- 通过外部显示控制器。在这种情况下,MCU可以通过SPI或I2C总线与显示控制器通信。为了提高性能,在这种情况下,也可以使用MCU内部的中间渲染缓冲区。
两种典型的硬件设置
MCU with TFT/LCD driver If your MCU has a TFT/LCD driver periphery then you can connect a display directly via RGB interface. In this case, the frame buffer can be in the internal RAM (if the MCU has enough RAM) or in the external RAM (if the MCU has a memory interface).
External display controller If the MCU doesn't have TFT/LCD driver interface then an external display controller (E.g. SSD1963, SSD1306, ILI9341) has to be used. In this case, the MCU can communicate with the display controller via Parallel port, SPI or sometimes I2C. The frame buffer is usually located in the display controller which saves a lot of RAM for the MCU.
External display controller If the MCU doesn't have TFT/LCD driver interface then an external display controller (E.g. SSD1963, SSD1306, ILI9341) has to be used. In this case, the MCU can communicate with the display controller via Parallel port, SPI or sometimes I2C. The frame buffer is usually located in the display controller which saves a lot of RAM for the MCU.

在这方面,一切都很灵活。如果您有驱动程序,但是该库还没有该驱动程序的端口,则可以轻松地将库自己集成到项目中
,最简单但最慢的方法是重写图形回调-my_flush_cb
void my_flush_cb(lv_disp_drv_t * disp_drv, const lv_area_t * area, lv_color_t * color_p)
{
    /*The most simple case (but also the slowest) to put all pixels to the screen one-by-one*/
    int32_t x, y;
    for(y = area->y1; y <= area->y2; y++) {
        for(x = area->x1; x <= area->x2; x++) {
            put_px(x, y, *color_p)
            color_p++;
        }
    }

    /* IMPORTANT!!!
     * Inform the graphics library that you are ready with the flushing*/
    lv_disp_flush_ready(disp);
}put_px-这是驱动程序的像素渲染。由于渲染是逐像素进行的,因此速度很慢。库文档详细介绍了其他更有效的集成方法,
将LVGL集成到项目中。首先是初始化库,显示和输入系统。
   lv_init();
   tft_init();
   touchpad_init();

   lv_demo_widgets();  //
由于库内部有一个任务管理器。是的,这是一个多线程系统,如果不是这样,请纠正我,然后我们需要通过调用lv_tick_inc来增加调度程序的内部计数器
void * tick_thread (void *args)
{
      while(1) {
        usleep(5*1000);   /*Sleep for 5 millisecond*/
        lv_tick_inc(5);      /*Tell LVGL that 5 milliseconds were elapsed*/
    }
}
此外,有必要将自上次调用时刻起经过的毫秒数(换句话说,即自上次迭代时刻起的时间)传递给该函数。
为了不浪费额外线程上的资源,可以在计时器中断上调用此函数。STM32具有SysTick计时器,用于以下目的:
void systickInit (uint16_t frequency)
{
   RCC_ClocksTypeDef RCC_Clocks;
   RCC_GetClocksFreq (&RCC_Clocks);
   (void) SysTick_Config (RCC_Clocks.HCLK_Frequency / frequency);
}

extern "C" void SysTick_Handler (void)
 {
      lv_tick_inc(1);    // 1 ms
 }
SysTick计时器
This timer is dedicated to real-time operating systems, but could also be used as a standard
downcounter. It features:
downcounter. It features:
- A 24-bit downcounter
- Autoreload capability
- Maskable system interrupt generation when the counter reaches 0
- Programmable clock source.
还需要在循环中调用lv_task_handler。建议每5 ms加速一次以确保良好的响应。我尝试增加到20毫秒,系统仍然非常灵敏且流畅。可以保留为永恒循环或使用线程
while(1) {
  lv_task_handler();
  my_delay_ms(5);
}
循环应该在不同的地方。我犯了一个错误,将lv_tick_inc和lv_task_handler塞入了一个循环。这就是结果-制动
当两种方法以正确的时间间隔分成不同的流时,一切都正确且快速地工作:
该库可以自定义内部缓冲区的数量:
- LVGL将屏幕内容绘制到缓冲区并将其发送到显示器时的一个缓冲区
- 两个部分屏幕缓冲区,在一个缓冲区中进行渲染时,另一缓冲区的内容被发送以在后台显示
- 两个全屏缓冲区
该站点具有用于字体和图像的转换器。您可以安全地将字体添加到项目或菜单中的图标。而且,您可以选择从外部存储设备(例如CD-CARD)或内部闪存中的字节数组中加载图片。
如何在LittlevGL中使用生成的文件?
For C arrays
Copy the result C file into your LittlevGL project
In a C file of your application declare the image as: LV_IMG_DECLARE(my_image_name);
Set the image for an lv_img object: lv_img_set_src(img1, &my_image_name);
For external binary files (e.g. SD card)
Set up a new driver. To learn more read the Tutorial.
Set the image for an lv_img object: lv_img_set_src(img1, «S:/path/to/image»);
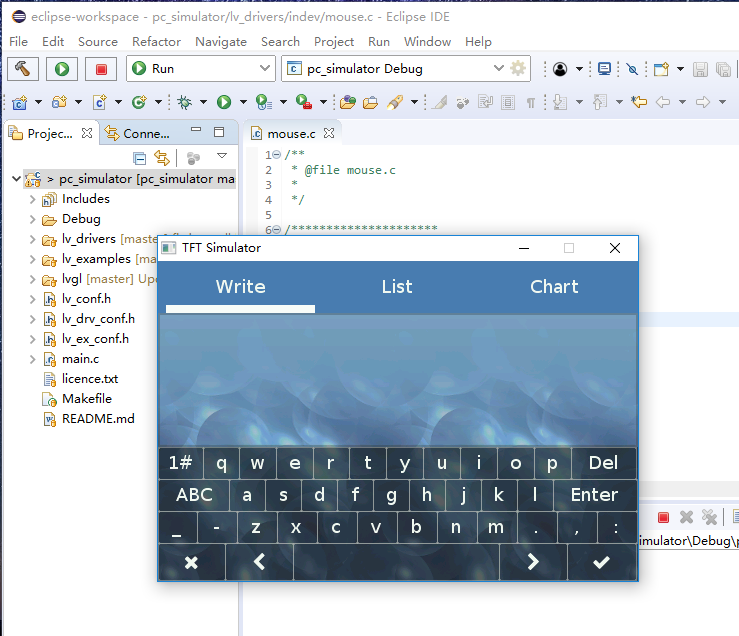
该库的另一个重要且不错的功能是,您可以在Linux和Windows上使用Eclipse IDE对其进行调试。
很好,对于OpenSource库,它有充分的文档记录。有许多示例和端口。该库已发展成为一个相当大的社区,
我为ESP32启动了一个端口。即使将映射用于SPI引脚,即 不是默认的,可以获得最佳的波特率,一切正常运行而不会降低速度:
ESP32 ST7789 LVGL
ESP32 ILI9341 LVGL